Marking the slide transitions
After synchronizing the source files and cutting the video, it is possible to set up the Slides scene, in which you can mark the points in time, where a slide transition occurs or an animation starts. For this, re-run the setup command.
>>> automation.setup()
Setting the markers
Afte the setup, the scene contains the audio track of the lecture and the slides video, which was cut accordingly.
You can now watch the video and create a marker (by pressing m, when the mouse pointer is above the sequencer), whenever a slide transition occurs or when an animation starts.
In order to see the video, you have to enable a preview. You can show the video behind the sequencer by checking the Preview as Backdrop option in the View menu of the sequencer. Or you can replace the text editor with the Video Sequencer and select the video preview there. The following screenshot shows how to enable the two options. Also note the dashed vertical lines in the sequencer, that visualize the markers for the slide transitions and animations.

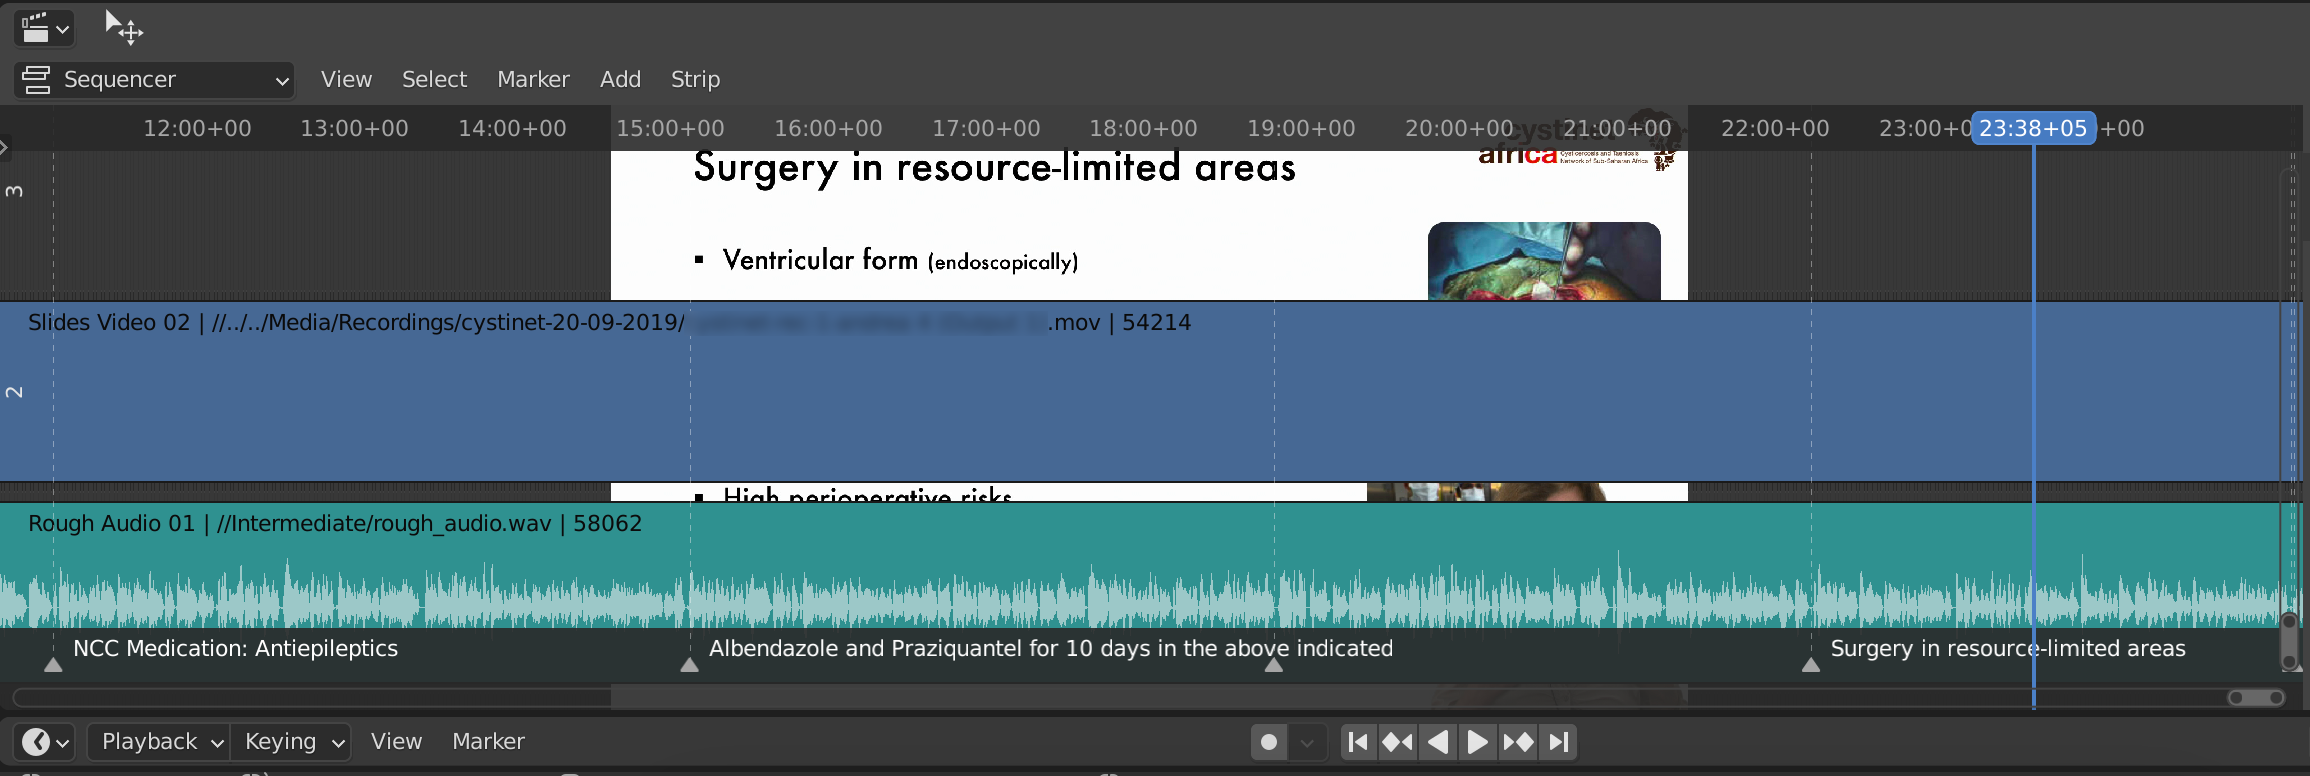
If you zoom in on the labels for the markers, you can see, that these are texts from the slides. Whenever you save the markers with the command …
>>> automation.save_slides_scene()
… the labels for the markers are changed to be the first bit of text, that Blender.LectureEdit finds on the slides. Usually, this is the slide title, but sometimes, it is some other text or even empty, if the slide does not contain text at all. You can compare the labels from the markers to the text on the slide to check, whether you have missed to mark a slide transition or an animation.
Generating the slides video
The events, that you have marked in the Slides scene can now be exported to PowerPoint. For that, use the command
>>> automation.create_presentation()
This command takes the presentation file from the Source directory and replaces all click events with timed events.
The trigger times for these events are calculated from the marker’s time points.
The command generates a new pptx-file with the name lecture_presentation.pptx in the Intermediate directory.
You can open this file with PowerPoint and export the presentation as a video.
This video file must be in the Intermediate directory and it has to be named lecture_presentation.mp4 for Blender.LectureEdit to find it.
Limitations of the export
The videos, that are generated by PowerPoint have a fixed and rather odd frame rate. Blender.LectureEdit adjusts the trigger times for the events, so that the resulting video can be treated like a video with the desired frame rate by Blender, without any frame rate conversions. This has a couple of side effects:
The exported video is shorter than the lecture, because it has a higher frame rate than 25fps. This effect will be compensated when the video is treated as a 25fps video in Blender.
The timings, that you will find in the PowerPoint file are also shorter by the same ratio.
Only the starting times for animations are adjusted, not their durations. This means, that movements and other animations, that take some time, are stretched in the final video.
You can disable the adjustment of the trigger times by setting the fps_correction value in the default settings to 1.
However, this makes it necessary to adjust the frame rate of the exported video manually with an external tool.
With ffmpeg, you can use the following commands for this purpose:
mv lecture_video.mp4 lecture_video_rough.mp4   # rename the exported video, so we can use the name lecture_video.mp4 for the adjusted video
ffmpeg -i lecture_video_rough.mp4 -vf fps=25 lecture_video.mp4
Another limitation is, that you should avoid mixing time triggered events and click-events. This is, because Blender.LectureEdit’s processing of the PowerPoint files is rather crude.
Slide transitions must always be triggered by a click. Having time-triggered slide transitions in the presentation will cause the
lecture_presentation.pptxfile to be broken.Time-triggered animations can only be used as the first animations on a slide. If they come after a click-triggered animation, their trigger time in the generated pptx-file will be counted from the start of the slide rather than from the occurrence of the replaced click event. Instead of such timed animations, it is recommended to simply make them a click-triggered animation and set a marker at the given point in time in the Sync scene.